How to Store Coffee Beans So They Stay Fresh: A Checklist for Home Brewers
Fresh coffee is not a flavour you can add later. It is something you either keep or lose, and most of the losing happens in the first week after the bag is opened. The beans are already roasted, already fragrant, already counting down. What you do with them between the shop and the grinder decides how much of that survives.
The good news is that freshness is not fragile in the way people assume. It is mostly a matter of removing a few obvious threats and then leaving the beans alone. Below is a working checklist for home brewers, built around the five things that matter: the container, light, heat, moisture and the freezer.
What actually goes wrong inside the bag
Roasted coffee is a porous, brittle material full of volatile aromatic compounds and a fair amount of oil. Those compounds are what you smell when you open a bag, and they are also what leaves. Four things speed up the departure: oxygen, light, heat and moisture.
Oxygen is the slow one. It reacts with the oils in the bean, and the result tastes flat, papery or faintly rancid. Light does similar damage, which is why beans stored in a clear jar on a sunny counter taste duller after a fortnight than beans kept in a closed cupboard. Heat accelerates everything, so a bag sitting beside the stove is aging faster than the calendar suggests. Moisture is the least forgiving of all: damp beans lose their snap, brew unevenly and can turn musty.
There is also carbon dioxide. Freshly roasted beans release it steadily for days, which is why a bag left sealed and warm can puff up like a pillow. A one-way valve on a coffee bag exists to let that gas out without letting much air in. Respect the valve; it is doing a job.
Choose a container that does three jobs
A good storage container blocks light, seals out air and is the right size for what is inside it. All three matter, and the third is the one most people forget.
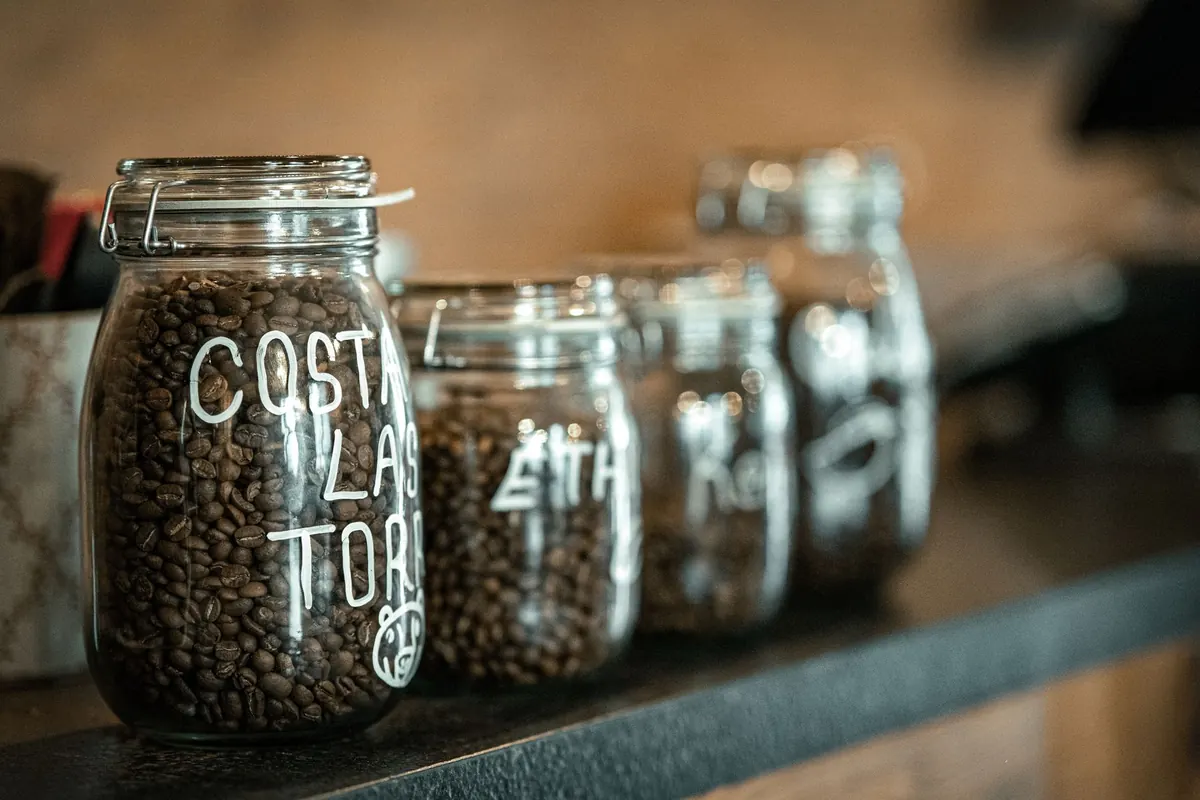
Opaque is non-negotiable. A dark ceramic canister with a silicone gasket, a tin with a tight lid, or a thick glass jar kept inside a cupboard all work. What does not work is decorative clear glass on an open shelf, however handsome it looks in photographs. If you love seeing the beans, keep the jar in a dark cupboard and accept that you will open it less often, which is also good for the coffee.
Airtight means airtight, not "lid resting on top". Look for a rubber gasket, a clamp, or a screw thread with a decent seal. The foil-lined bag the beans arrived in is often better than a cheap canister: it is opaque, it has a valve, and it was designed for exactly this. Roll the top down, press out the air, and clip it.
Size matters because headspace is air. A half-empty two-litre jar holds a litre of oxygen-rich air around your beans, and every time you open it, that air is exchanged. Buy containers that fill up, or keep a large container for the main supply and decant a week's worth into a small one you open daily.
Skip these
- Clear glass or plastic jars left on the counter in daylight.
- Old spice or jam jars that still smell of what was in them. Coffee absorbs odours readily.
- Thin plastic tubs with press-on lids that pop loose.
- The grinder hopper, if you only brew once a day. It is open to the room and often translucent.
Light and heat: keep it boring
The best spot in the kitchen for coffee is usually the dullest one. A closed cupboard away from appliances is ideal. Avoid the windowsill, the shelf above the kettle, the top of the refrigerator, and anywhere within arm's reach of the oven or dishwasher, all of which run warm and humid.
This is also the argument against leaving beans in the bag on the counter beside the espresso machine. It is convenient, and convenience is why so many people drink mediocre coffee at home for years without quite knowing why. Move the bag into a cupboard and scoop from there. Two extra seconds, noticeably better cups.
Moisture, and the refrigerator mistake
Storing coffee in the fridge is one of the most common errors in home brewing, and it fails for two reasons. First, every time you take the container out, the cold surface meets warm kitchen air and condensation forms, on the container and eventually on the beans. Second, refrigerators are humid, crowded and full of strong smells, all of which coffee happily takes on.
Keep everything dry, too. Use a dry spoon, not the one you just stirred a wet mug with. Don't scoop with damp hands. If you brew in a steamy kitchen, close the container before you start pouring.
Coffee does not usually go stale overnight. It goes stale quietly, in small losses, until one morning you notice the cup tastes like very little.
Freezing, done properly
Freezing is not a compromise; it is the best option when you buy more than you can drink in two or three weeks. Cold slows the staling reactions dramatically, and whole beans freeze well because there is so little water in them.
The method matters more than the freezer:
- Portion before freezing. Divide the beans into bags or jars holding roughly a week's supply, so you thaw only what you will use.
- Remove the air. Press the bags flat, squeeze out as much air as you can, and seal tightly. A vacuum bag is excellent; a zip bag with the air pushed out is fine.
- Label the roast date. A strip of tape and a marker is enough. Frozen beans all look identical after a month.
- Grind straight from frozen. There is no need to thaw. Beans ground cold behave well, and skipping the thaw avoids condensation entirely.
- Never refreeze. Once a portion is out and open, keep it in the cupboard and drink it within a week or so.
One caution: frozen beans are brittle, so a hand grinder may need a slightly coarser setting and a little more patience.
The storage checklist
- Beans are whole, not ground, until minutes before brewing.
- The container is opaque, sealed and roughly full.
- It lives in a dark cupboard, away from the oven, kettle and window.
- Nothing is stored in the refrigerator.
- Long-term supplies are portioned and frozen, not left in a warm cupboard.
- Scoops and hands are dry.
- Strong-smelling items such as spices or tea are kept elsewhere.
- The roast date, not the best-before date, is what you check when buying.
A routine that takes two minutes
Buy only what you will finish in about three to four weeks, and look for a roast date on the bag rather than a vague best-before stamp. When you get home, transfer the beans to a sealed, opaque container, or simply roll and clip the original bag. Keep a small jar out for daily use and the rest sealed and cool, or frozen in weekly portions if you have bought a lot.
Then leave it alone. Every time you open the container, you trade a little aroma for curiosity, so resist the urge to check on the beans for no reason. Grind just before brewing, taste the difference between week one and week four, and adjust how much you buy from there. That single feedback loop, more than any gadget, is what keeps a home coffee setup tasting good.